How to Build a Stunning $1300 Gaming PC: A Comprehensive Guide
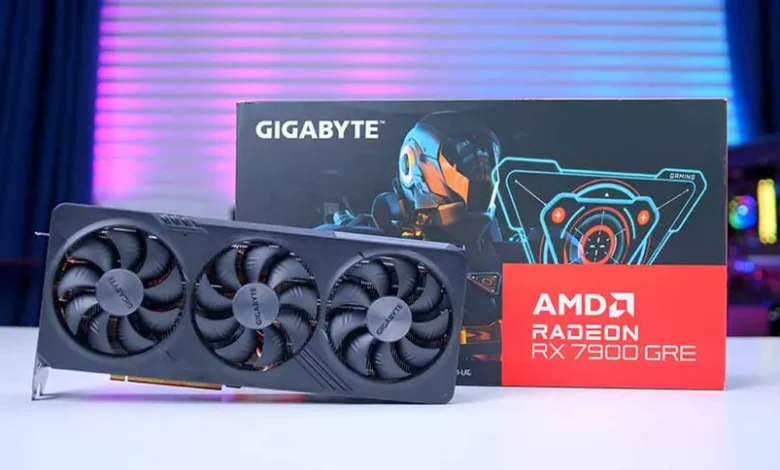
Building your own gaming PC is an exciting and rewarding project. With a budget of $1300, you can create a powerhouse capable of handling the latest games at high settings, supporting multitasking, and offering an immersive experience. In this guide, we’ll walk you through the components, assembly process, FAQs, and provide tips for optimizing your gaming rig.
Component Selection for a $1300 Gaming PC
The first step is selecting the right components. Here’s a detailed breakdown:
| Component | Model | Price (Approx.) | Purpose |
|---|---|---|---|
| Processor (CPU) | AMD Ryzen 5 7600X | $250 | Excellent performance for gaming and multitasking. |
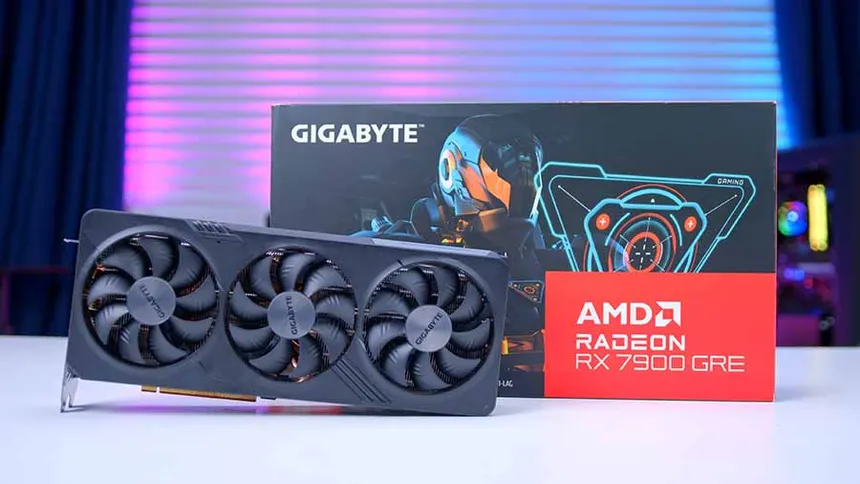
| Graphics Card (GPU) | NVIDIA GeForce RTX 4060 Ti | $399 | Handles AAA games in 1080p and 1440p at high settings. |
| Motherboard | MSI B650M Mortar WiFi | $190 | AM5 socket compatibility, WiFi support, and solid VRMs. |
| Memory (RAM) | Corsair Vengeance 16GB (2x8GB) DDR5-6000 | $100 | High-speed RAM for smooth multitasking and gaming. |
| Storage | Samsung 970 EVO Plus 1TB NVMe SSD | $80 | Fast load times and ample storage space for games and software. |
| Power Supply (PSU) | EVGA 600W 80+ Gold | $80 | Reliable power delivery with room for upgrades. |
| Case | NZXT H5 Flow | $90 | Stylish design with excellent airflow for optimal cooling. |
| Cooling | Cooler Master Hyper 212 Black Edition | $40 | Keeps the CPU cool under load with quiet operation. |
| Operating System | Windows 11 Home (OEM) | $120 | Provides compatibility with modern software and gaming utilities. |
Step-by-Step Assembly Guide
1. Prepare Your Workspace
- Choose a clean, static-free area to work.
- Gather tools like a Phillips-head screwdriver and thermal paste (if not pre-applied).
2. Install the CPU
- Unlock the CPU socket on the motherboard.
- Align the CPU with the socket and gently place it in. Secure it with the retention arm.
3. Attach the CPU Cooler
- Apply a small amount of thermal paste (if needed).
- Mount the cooler as per the manufacturer’s instructions.
4. Install RAM
- Locate the DIMM slots and open the clips.
- Insert the RAM sticks into the correct slots (check the motherboard manual for dual-channel configurations).
5. Mount the Motherboard
- Install standoffs in the case.
- Secure the motherboard to the case using screws.
6. Install the Storage
- Mount the NVMe SSD onto the motherboard or a dedicated slot.
7. Install the Graphics Card
- Insert the GPU into the PCIe slot on the motherboard and secure it with screws.
8. Connect the Power Supply
- Attach the PSU to the case and connect cables to the motherboard, GPU, and storage.
9. Cable Management
- Route cables neatly to improve airflow and aesthetics.
10. Install the Operating System
- Use a USB drive to install Windows 11 or your preferred OS.
Performance Benchmarks
A $1300 gaming PC should perform well in modern games and applications. Here are some expected performance benchmarks:
| Game/Software | Resolution | Settings | FPS (Avg.) |
|---|---|---|---|
| Cyberpunk 2077 | 1440p | High | 70-80 FPS |
| Call of Duty: Warzone | 1080p | Ultra | 120-130 FPS |
| Fortnite | 1440p | Epic | 140+ FPS |
| Blender (3D Rendering) | N/A | Medium Scene | Fast and efficient. |
FAQs
Q1: Can I upgrade this build in the future?
Yes, this build is designed with future upgrades in mind. You can add more RAM, switch to a higher-tier GPU, or upgrade the CPU without needing to replace the motherboard.
Q2: Is liquid cooling necessary?
Not for this build. The Cooler Master Hyper 212 provides sufficient cooling. However, liquid cooling is an option if you prioritize aesthetics or overclock heavily.
Q3: Can this PC handle 4K gaming?
While the RTX 4060 Ti can manage some 4K games at medium settings, this build is optimized for 1440p or 1080p gaming.
Q4: What tools do I need to build this PC?
You’ll need a Phillips-head screwdriver and optionally, a static wrist strap for safety.
Q5: Do I need extra case fans?
The NZXT H5 Flow includes fans, but adding one or two more can enhance airflow and cooling.
Conclusion
Building a $1300 gaming PC is an exciting endeavor that balances performance, aesthetics, and value. By carefully selecting components and following the assembly steps, you’ll create a rig capable of delivering top-notch gaming experiences. Whether you’re a beginner or an experienced builder, this guide provides everything you need to get started.
Invest in quality components, stay patient during assembly, and enjoy the thrill of playing your favorite games on a machine you built yourself!
One Comment