Entry-Level Gaming PC Build Guide
Building your first gaming PC can feel like an intimidating process, especially if you’re venturing into the world of custom rigs for the first time. The Entry-Level Gaming PC Build Guide is here to simplify things, walking you through every component, answering FAQs, and ensuring you have a reliable system ready to play modern games without breaking the bank.
Why Build an Entry-Level Gaming PC?
An entry-level gaming PC is perfect for gamers on a budget or those looking to dive into PC gaming without committing to high-end hardware. Building your PC not only helps you save money but also allows you to customize your machine according to your specific needs. Whether you’re upgrading from a console or starting fresh, this Entry-Level Gaming PC Build Guide will help you get the best bang for your buck.
Components Needed for an Entry-Level Gaming PC
Here’s a breakdown of the essential parts you’ll need:
| Component | Recommended Model/Specification | Estimated Cost (2024) |
|---|---|---|
| Processor (CPU) | AMD Ryzen 5 5600 or Intel Core i3-12100 | $100–$150 |
| Graphics Card (GPU) | NVIDIA GTX 1660 Super or AMD RX 6600 | $200–$250 |
| Memory (RAM) | 16GB DDR4 (2x8GB, 3200MHz) | $50–$70 |
| Storage | 500GB NVMe SSD | $30–$50 |
| Motherboard | B450 (AMD) or B660 (Intel) | $70–$120 |
| Power Supply (PSU) | 500W 80+ Bronze | $40–$60 |
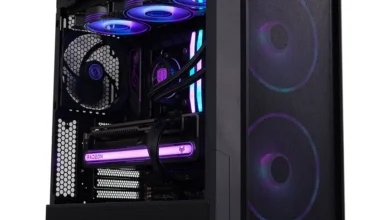
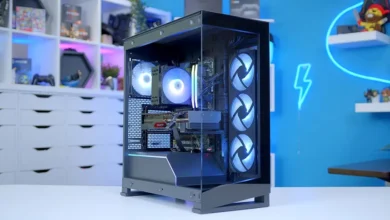
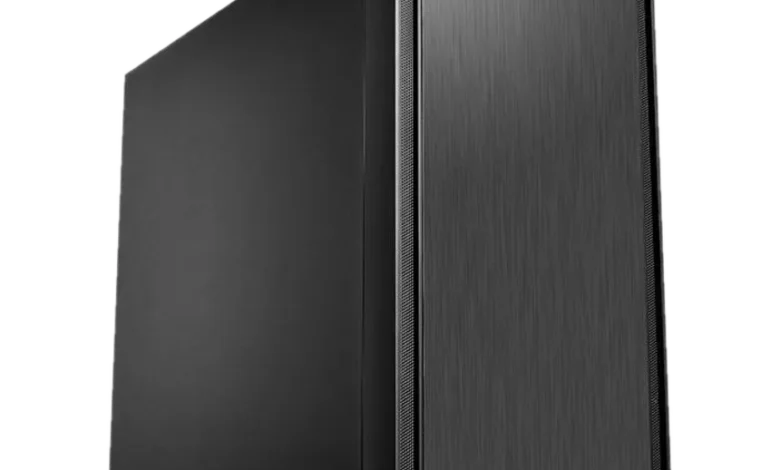
| Case | Mid-tower case with good airflow | $50–$80 |
| Optional: Cooling | Stock cooler or budget aftermarket cooler | $0–$30 |
1. Processor (CPU)
The CPU is the brain of your gaming PC. For an entry-level build, processors like the AMD Ryzen 5 5600 or Intel Core i3-12100 provide excellent value, balancing performance and price. These CPUs can handle modern games and light multitasking, ensuring smooth gameplay.
2. Graphics Card (GPU)
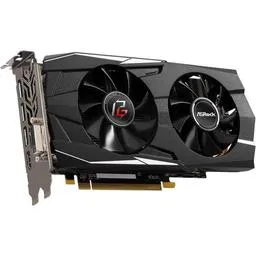
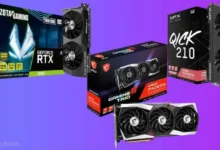
The GPU is the heart of your gaming setup. The NVIDIA GTX 1660 Super and AMD RX 6600 are two of the best options for entry-level gaming PCs in 2024. Both offer solid performance for 1080p gaming at medium to high settings.
3. Memory (RAM)
For an entry-level gaming PC, 16GB of DDR4 RAM running at 3200MHz is the sweet spot. This amount of memory ensures smooth multitasking and prevents bottlenecks in most games.
4. Storage
A 500GB NVMe SSD is ideal for fast boot times and quick game loading. If your budget allows, consider adding a 1TB HDD for extra storage.
5. Motherboard
Choose a motherboard compatible with your CPU. For AMD processors, the B450 chipset is affordable and feature-packed. Intel users should look for the B660 chipset. Ensure the motherboard supports your RAM and storage requirements.
6. Power Supply Unit (PSU)
A 500W PSU with an 80+ Bronze rating is sufficient for an entry-level gaming PC. Make sure to select a reliable brand to protect your components.
7. Case
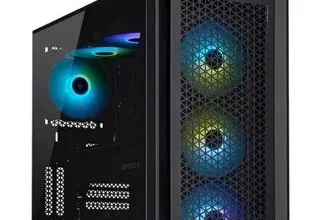
Pick a mid-tower case with good airflow and cable management options. Cases from brands like NZXT, Cooler Master, and Corsair are often budget-friendly and functional.
8. Optional: Cooling
Most CPUs come with a stock cooler sufficient for entry-level builds. However, if you want quieter operation or plan to overclock, an aftermarket cooler is a worthwhile investment.
Step-by-Step Assembly Guide
- Install the CPU: Place the CPU into the motherboard socket, aligning the notches. Lock it in place carefully.
- Attach the Cooler: Secure the stock or aftermarket cooler onto the CPU using the mounting system.
- Insert RAM: Push the RAM sticks into the motherboard’s DIMM slots until they click.
- Mount the Motherboard: Screw the motherboard into the case using the included standoffs.
- Install the PSU: Secure the power supply in the PSU chamber of the case.
- Add Storage: Mount your SSD in the designated slot and connect it to the motherboard.
- Connect the GPU: Insert the GPU into the PCIe slot on the motherboard. Secure it with screws.
- Cable Management: Connect all necessary power and data cables, routing them neatly for airflow.
- Power On: Double-check connections, close the case, and power on your PC.
Frequently Asked Questions (FAQs)
1. Can I upgrade an entry-level gaming PC later?
Absolutely! This Entry-Level Gaming PC Build Guide is designed with upgradability in mind. You can swap out components like the GPU or add more storage as your needs grow.
2. Can this build handle AAA games?
Yes, this build can run most modern AAA games at 1080p with medium to high settings.
3. Do I need additional cooling?
For entry-level gaming, stock cooling is typically sufficient. If you plan to overclock, invest in a budget aftermarket cooler.
4. How much should I spend on peripherals?
Budget $50–$100 for a keyboard and mouse combo, and $100–$200 for a 1080p monitor.
5. What about operating systems?
You can purchase Windows or use free options like Linux. Note that some games might require Windows.
Conclusion
Building your own PC is a rewarding experience. This Entry-Level Gaming PC Build Guide ensures you get the most performance for your budget while keeping things simple. With a bit of patience and effort, you’ll have a custom rig ready to deliver immersive gaming experiences. Whether you’re a first-timer or someone on a budget, this guide is your go-to resource.
By following the Entry-Level Gaming PC Build Guide, you can confidently build a machine that meets your gaming needs today while allowing room for future upgrades. So, gather your components, roll up your sleeves, and enjoy the process of building your very own gaming PC!
